How to Reconstitute Research Peptides: A Complete Laboratory Guide
11 April 2026 · PepC.Labs
For research use only
This article is research education for laboratory and research-use audiences. Products mentioned are sold strictly for in-vitro research and not for human or veterinary consumption.
How to Reconstitute Research Peptides: A Complete Laboratory Guide
Reconstitution is the single step in a peptide research protocol where the largest number of mistakes are made. A peptide that has been freeze-dried to a fine powder inside a sealed vial will behave very differently depending on how it is rehydrated, how much diluent is used, how the diluent is introduced, and how the reconstituted solution is stored before use. Getting any of these details wrong can degrade the peptide, compromise sterility, or introduce dosing errors that make downstream research data unreliable.
This guide walks through the reconstitution process as it is typically performed in a research laboratory setting. It covers diluent selection, volume calculation, aseptic technique, storage after reconstitution, and the most common mistakes researchers make when handling lyophilised peptides for the first time.
Why Peptides Are Shipped Lyophilised
Most research peptides are shipped as lyophilised (freeze-dried) powders rather than pre-dissolved solutions. Lyophilisation removes water from the peptide by sublimation under vacuum, leaving behind a dry, stable fluff or cake inside the vial. Peptides in this state can be stored for months to years at refrigerated or frozen temperatures without significant degradation, whereas the same peptide in aqueous solution may begin to hydrolyse within weeks even under optimal conditions.
The trade-off is that the researcher must perform the reconstitution themselves. This adds a step to the research workflow but also gives the researcher direct control over the final concentration, which is useful when different experiments in the same protocol call for different dilutions of the same stock compound.
Step One: Choosing the Right Diluent
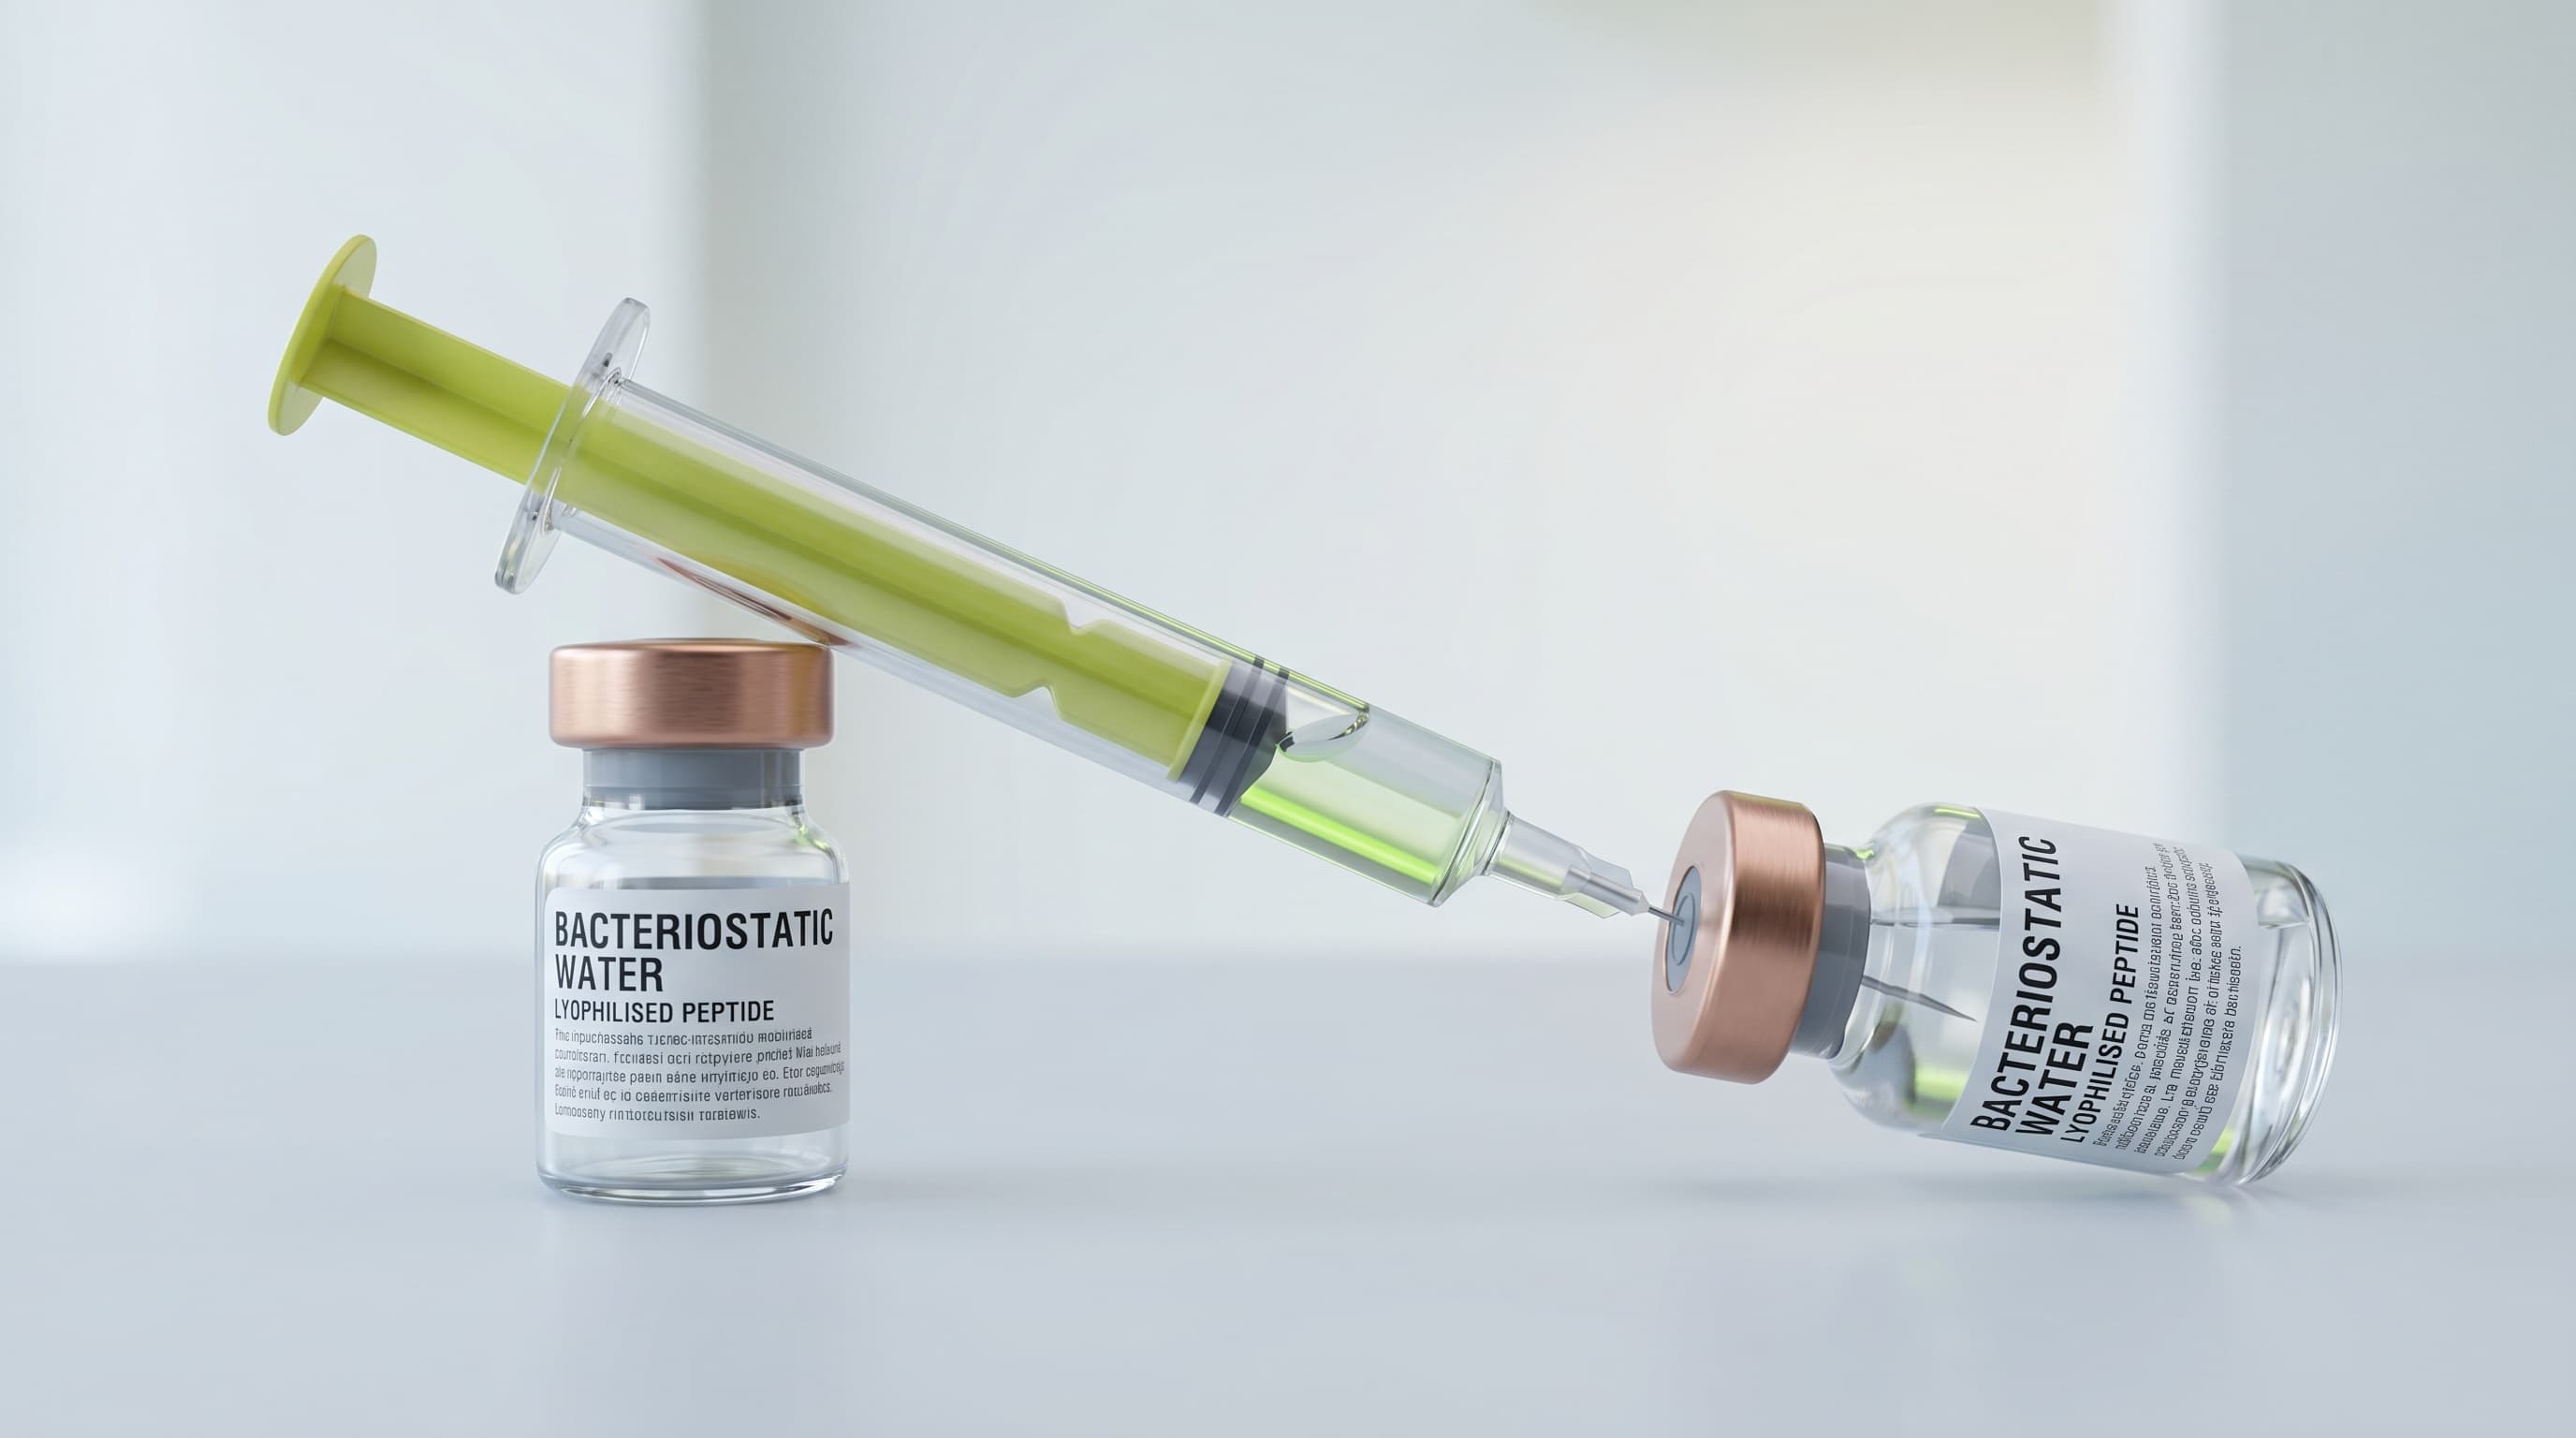
The most common diluent used for reconstituting research peptides in the published literature is bacteriostatic water. This is sterile water that has been prepared with 0.9% benzyl alcohol, a bacteriostatic preservative that inhibits microbial growth in the vial after the stopper has been punctured for the first time. Unlike plain sterile water, bacteriostatic water can be drawn from multiple times over a period of up to 28 days while maintaining sterility, which is practical for research protocols that involve multiple draws from a single reconstituted peptide vial.
Plain sterile water is an alternative for peptides that are sensitive to benzyl alcohol, but the opened vial must be used within a much shorter window because it lacks the preservative.
Some peptides require specific diluents because of their chemical properties. Peptides that are poorly soluble in water may need a small amount of dilute acetic acid (0.1% to 1%) to dissolve the dry powder before being brought up to final volume with bacteriostatic water. Hydrophobic peptides may require a small percentage of DMSO in the initial dissolution step. Always check the manufacturer's certificate of analysis and any published reconstitution notes for the specific peptide before selecting a diluent.
Step Two: Calculating the Diluent Volume
The amount of diluent added to the vial determines the final concentration of the reconstituted stock solution, which in turn determines how much volume must be drawn for any given research dose in the protocol.
The basic calculation is:
Final concentration (mg/mL) = Peptide mass (mg) ÷ Diluent volume (mL)
For example, a 10mg peptide vial reconstituted with 2mL of bacteriostatic water yields a stock solution at 5 mg/mL. A research protocol calling for a 250mcg dose would then require drawing 0.05mL (50 microlitres) from the vial for each dose.
Choosing the right diluent volume is a balance. Too little diluent and the resulting stock is very concentrated, which makes accurate small-volume draws difficult and increases the impact of pipetting error. Too much diluent and each draw requires a large volume, which wastes diluent and shortens the practical shelf life of the vial (a vial drawn from 20 times reaches the end of its usable life faster than one drawn from 5 times).
For most research protocols, a target concentration of 2 mg/mL to 5 mg/mL strikes a good balance between draw accuracy and vial longevity. Our reconstitution calculator performs this calculation automatically when you enter the vial mass, diluent volume, and target research dose.
Step Three: Introducing the Diluent Into the Vial
The goal of this step is to get the diluent into the vial without damaging the peptide and without contaminating the sterile environment inside the stopper. This is where laboratory technique matters most.
Begin by disinfecting both vial stoppers (peptide vial and diluent vial) with an alcohol wipe and allowing them to air dry. Draw the calculated volume of diluent into a sterile syringe, then insert the needle into the peptide vial at a slight angle so the diluent runs down the inside wall of the vial rather than splashing directly onto the freeze-dried peptide cake.
Allowing the diluent to run down the wall serves two purposes: it prevents foaming (which can denature the peptide structure) and it gives the peptide a gentle rehydration rather than a sudden impact. Some peptides are particularly sensitive to mechanical stress and can lose biological activity if subjected to forceful mixing or vigorous shaking during this step.
Once all of the diluent has been introduced, remove the syringe and allow the vial to sit undisturbed at room temperature for two to five minutes. Most peptides will dissolve spontaneously during this rest period. If the powder has not fully dissolved after five minutes, gently swirl or rotate the vial in your hand until the solution is clear. Do not shake the vial vigorously, and do not invert it repeatedly. Foam on the surface indicates that the peptide is being denatured by the mechanical action.
Step Four: Inspecting the Reconstituted Solution
A properly reconstituted peptide solution should be clear and colourless, with no visible particulates, cloudiness, or precipitate. If you observe any of the following, the reconstitution may have failed or the diluent may be incompatible with the peptide:
If any of these signs are present, the batch should be discarded and a fresh reconstitution attempted with a different diluent or a new vial. Do not proceed to research dosing with a visually compromised solution.
Step Five: Storage After Reconstitution
Once a peptide has been reconstituted into aqueous solution, its stability clock starts. Most reconstituted research peptides should be stored at refrigerated temperatures (2 to 8 degrees Celsius) and used within a defined window that depends on the specific compound. For many common research peptides, a refrigerated reconstituted vial remains stable for two to four weeks under proper storage conditions.
For longer-term storage, some researchers aliquot the reconstituted solution into smaller portions and freeze them at minus 20 or minus 80 degrees Celsius. This approach prevents repeated freeze-thaw cycles from degrading the peptide but requires careful thawing before each use and is more complex than simple refrigerated storage. Frozen aliquots are most useful for research protocols that involve infrequent dosing over many months.
Label every reconstituted vial with the reconstitution date, the final concentration, and the diluent used. This seems obvious but is one of the most commonly skipped steps in research laboratories, and it is the single most useful record for troubleshooting any downstream problem.
Common Mistakes to Avoid
Several reconstitution errors come up repeatedly in research laboratory workflows:
Reconstitution Is Research, Not Guesswork
The difference between a research protocol that produces clean data and one that produces noise often comes down to how carefully the reconstitution step was performed. Peptides are delicate molecules, and the laboratory practices outlined in this guide reflect decades of published best practice from peptide research groups.
For researchers just beginning to work with lyophilised peptides, the reconstitution calculator at PepC.Labs can help eliminate calculation errors and ensure that your diluent volumes are appropriate for your target stock concentration. Every peptide shipped from PepC.Labs includes a batch-specific Certificate of Analysis documenting purity and identity verification so that you can begin your research protocol with confidence in the starting material.
For background on the diluent options available, see our companion post on bacteriostatic water versus sterile water for peptide research.
Disclaimer
For research use only. Not for human consumption. The information provided is for educational and research purposes only. Products referenced are not intended to diagnose, treat, cure, or prevent any disease. Always consult published peer-reviewed literature before designing research protocols.